Android Development : Moving from Emulator to Device
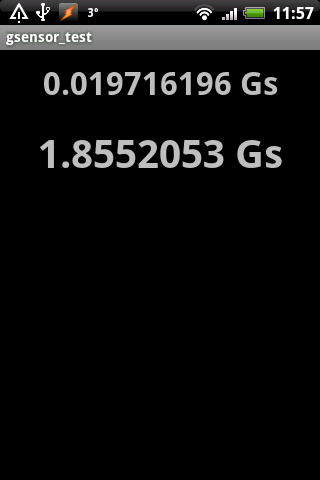
android mobile-development android-debug-bridge So I wanted to roll my sleeves up and get going with Android and have come up with a suitable ‘pet project’ to work towards. Now that I’ve got my development environment sorted out, and with my pet project in mind, I decided to do something with the accelerometer. In the Android Development book that I bought there is a sample application to display the current G being experienced by the device as well as the maximum G experienced.
Now the keying in of the code was a useful exercise in itself but there was an obvious flaw in my selection of project – can you guess what it is? That’s right my laptop doesn’t have an accelerometer so even if the code builds (and it does) and runs in the emulator (and it did) the G readings are not going to change no matter how much I shake the laptop around! Doh! So, the only way forward would be to generate an Android package file and install it on my HTC Hero. Now there were a number of steps I had to go through before I could find out how many Gs I can put on my phone.
Now you can’t just connect your phone, select ‘Build to Phone’ in the IDE and TaDa! There’s a little bit more to it than that – but thankfully not too much.
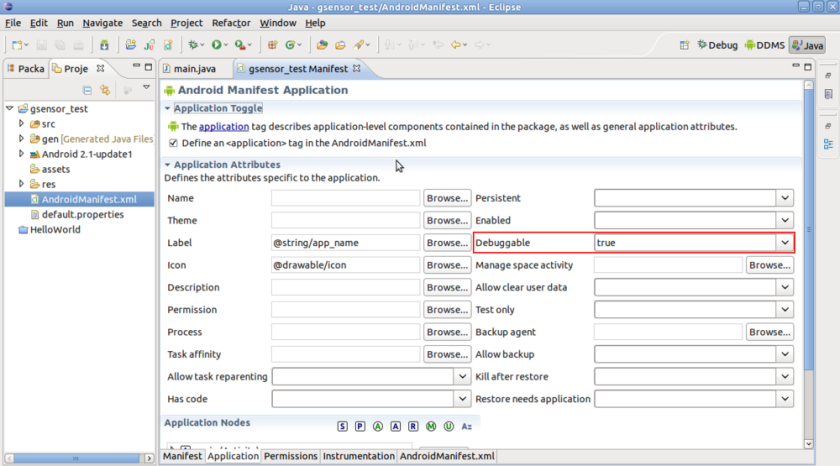
Assuming that your application builds and runs in the emulator you are almost ready to generate your package. If you intend to debug your application while it is running on a physical device (and why wouldn’t you) then you need to specify this intention in the AndroidManifest.xml file.
- If you are using the Eclipse IDE then open the AndroidManifest.xml file and it won’t be displayed as a normal XML file but as a more user friendly configuration form.
- Locate the ‘debuggable’ property and set this to ‘true’ using the dropdown list.
- If you are not using Eclipse then open the file in text editor, locate the main ‘application’ element and add the following attribute to it:
android:debuggable=”true”
Obviously you will want to reset this back to false if you are about to deploy into production, e.g. to the Android Market.
We are now ready to export our package:
- Right-Click on the project and select ‘Export Signed Application Package’ from the ‘Android Tools’ menu.
- The next dialog asks you to select the project to build, but if you right-clicked on the right project then you can just click Next here.
- Next you need to specify the keystore to sign your applications with, don’t panic – there is a default one ready for you to use. This is normally located in a file called debug.keystore in a hidden folder in your home folder, called .android.
- So my keystore is in /home/dave/.android/debug.keystore
- The default password is (surprisingly enough) ‘android‘
- Click Next and specify a Key Alias
- Select the default alias of androiddebugkey
- Enter the password of android
- The final screen is really a summary of the current configuration as well as some useful information on the certification expiry.
- After checking that everything is ok, Click Finish and your package will be generated in the location specified.
So the next step is getting this package onto the phone – how hard could that be……………..
The first step (before plugging the phone in) is to turn on USB Debugging on the phone.
- Access the main menu and select Settings
- Select Applications
- Select Development
- Tap USB Debugging to turn it on
You can now plug your phone into your system. If you are using Windows then you will need to install some additional USB drivers that need to be installed.
Now for the bit that took the time – hence I’m writing it down. You now need to use the Android Debug Bridge (aka adb) to communicate with the phone.
To see if your phone has been detected:
- Open a Terminal Window
- Navigate to the tools folder within your SDK location
- In my case this is /home/dave/Applications/android-sdk-linux_x86/platform-tools (moved from the tools folder ‘recently’)
- Type
./adb devicesand press enter
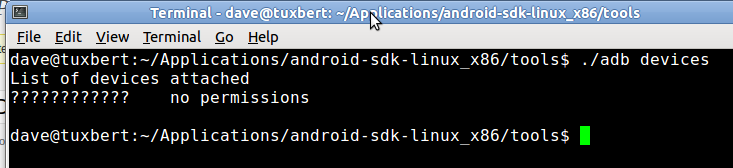
‘No Permissions’ – what’s that about?
Well (after quite a lot of Googling) I found that this problem is caused by the adb server not running as root – it’s actually running with your normal permissions. Resolving this problem is as simple as stopping the service and restarting it again using sudo.
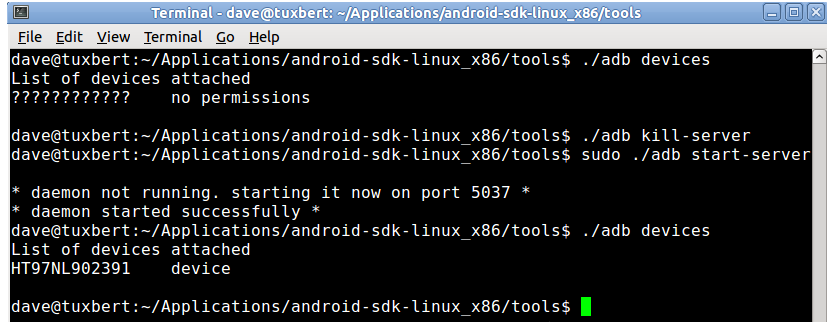
Job done – I can now access the phone and hence install the signed package I generated earlier by running
./adb install [full path to signed package]

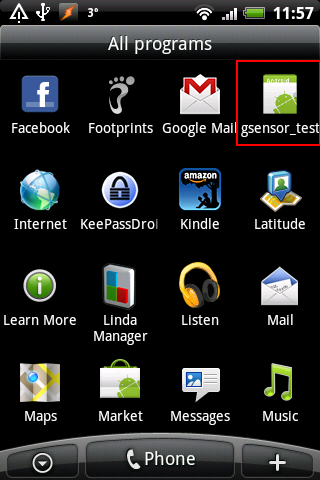
All things being equal you should now find your application in with all of your others where you can tap to run it.
So there we have it – an application installed from laptop to phone. But that matter of having to stop and restart the adb server niggles me a little and I’m going to look into sorting that out. If it needs to run with root permissions then why does it not start up that way? When I have a solution, I’ll post it here – otherwise I’ll forget myself 😉
Comments
Comments are now closed3 responses
Dave
This is really good, thanks. I have a few tips for Windows 7 especially in relation to File locations. My name is “Allen Jones” and my app is “MyApp” so the following are:
default keystore: c:usersAllen Jones.androiddebug.keystore
In the Export Wizard there is a further step at the end, a request for “Destination APK file”:
c:usersAllen Jones.androidMyApp.apk
adb.exe is found at: c:androidandroid-sdkplatform-tools
so the install command is:
adb install “c:usersAllen Jones.androidMyApp.apk”
(quotes needed because of space in my name)
I hope this helps!
Allen Jones (allen.jones246@gmail.com)
Thanks for your input Allen
This was very helpful, Thank you!